Borderlands 4: The ‘Unpaid Tab’ Mission Walkthrough – Restoring Carcadia’s Lifelines


Popular Now
 Rust
Rust
 Geometry Dash
 Auto X Drift Racing 3
 FIFA 23
Valorant
FIFA 23
Valorant
 Among Us
 Genshin Impact
 Black Myth: Wukong
The ‘Unpaid Tab’ mission is a critical mainline quest in Borderlands 4, marking a significant step in restoring the crucial infrastructure of Carcadia City in the Carcadia Burn region. This quest is a multi-part gauntlet of combat, puzzle-solving, and a tense boss encounter, culminating in a dramatic, time-sensitive choice that affects a key NPC. Successfully navigating this mission is essential for Borderlands 4 progression and high-level loot farming, as it grants access to vital city functions.
 The Mission Breakdown: Key Objectives and Walkthrough
 The Mission Breakdown: Key Objectives and Walkthrough
The quest is initiated by Leader Yorick in Carcadia and focuses on reactivating the city’s power grid, Fast Travel, vending systems, and water supply. It is a long mission, often cited by players for its varied objectives.
Phase 1: Restoring City Utilities
- Talk to Leader Yorick: Start the mission in the Leaders’ Chamber of Carcadia City.
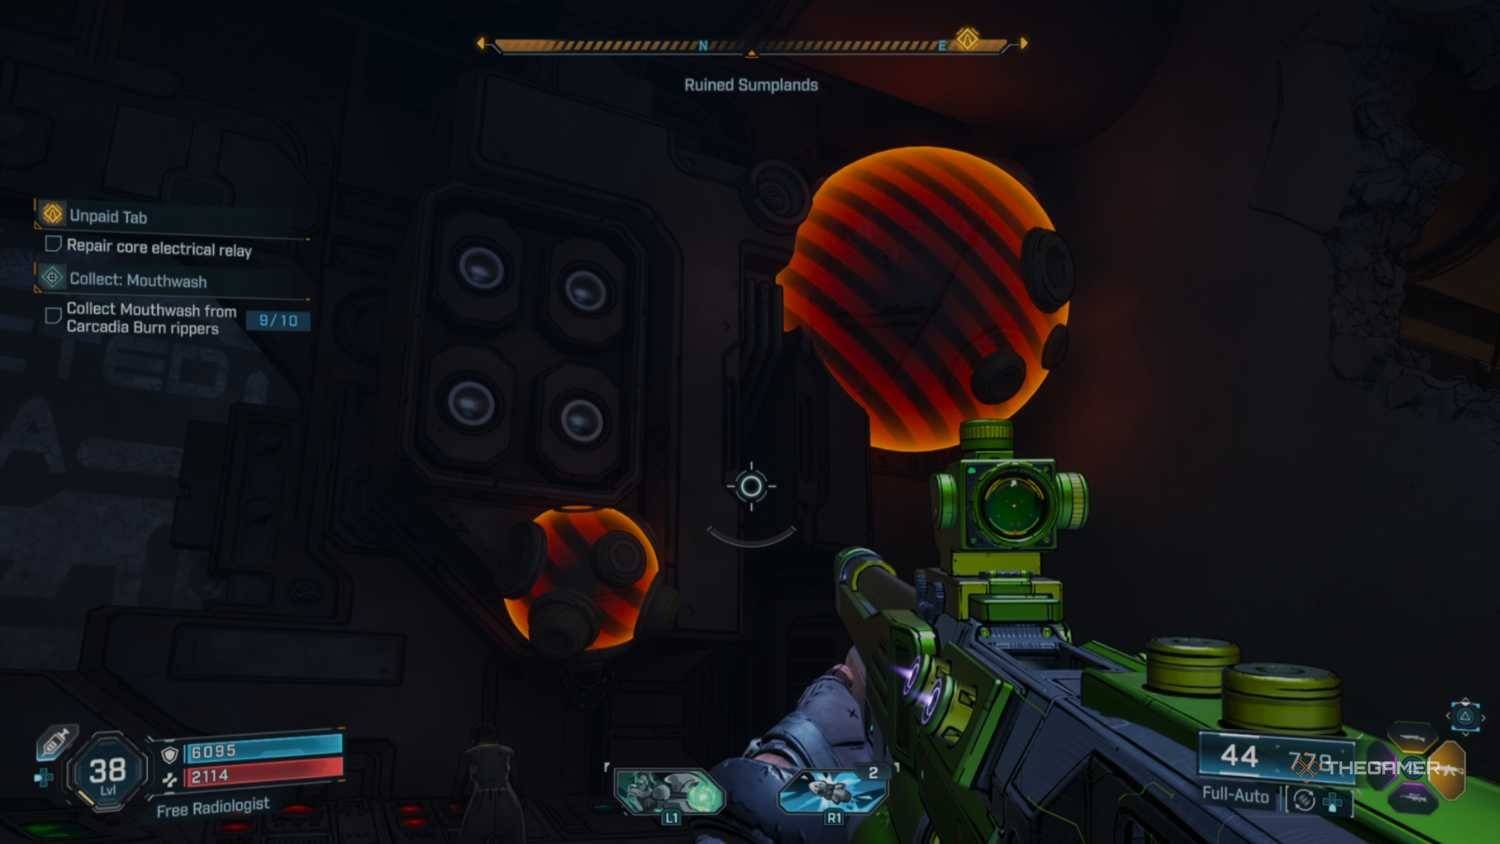
- Find and Repair Core Electrical Relay:
- Inspect the power relay marked on your map in the room to the northeast.
- You will be challenged to destroy eleven Ripper Orbs that are disrupting the electrical supply. These Orbs glow red and are scattered around the room, including along the ceiling and near the floor.
- Once all eleven are destroyed, flip the switch on the main relay to restore core power.
- Restore Fast Travel Station:
- Head directly across the street to the Fast Travel station machine displaying a red error.
- Inspect the machine, then follow Yorick’s instructions and flip the switch to the left of it three times to reactivate the station.
- Restore All Vending Systems:
- Return to the Leaders’ Chamber and flip the switch located just to the right of the entrance to bring the Vending Machines back online. This is a crucial step for Borderlands 4 Legendary Farming.
- Restore Water:
- Go outside to the raised area to the southwest of the main city area.
- Turn all three marked valves. The uppermost valve may require you to use your Vault Hunter’s Grapple Hook to reach the top of the pipes.
Phase 2: Lowering the Firedust Bridge
This section involves a light puzzle and combat encounter at the Firedust Bridge, allowing access to the next area of Carcadia Burn.
- Reach Firedust Bridge: Clear the enemy Rippers guarding the bridge entrance.
- Attempt to Lower the Bridge:
- Jump down to the ledge underneath the bridge structure, on the left side.
- Turn the marked control wheel/valve.
- Glide or jump to the opposite side’s underside ledge and turn the wheel there as well.
- Forcing the Bridge Down: The bridge will fail to lower completely. Return to the east side and shoot the two supports (often glowing orange) underneath the stuck section of the bridge to destroy them, which will complete the objective.
Phase 3: Infiltrating the Ripper Refinery
- Reach Western and Eastern Ripper Camps:
- The main entrance to the Refinery is locked. You must defeat the leaders of two nearby Ripper camps to obtain the password for the side entrance.
- Go to the marked Eastern Ripper Camp and Western Ripper Camp and eliminate the respective leaders.
- Both leaders will drop ECHO Logs, which together contain the two halves of the Refinery’s side door password.
- Enter Old Refinery:
- With the full password, follow the Refinery wall clockwise to find the side entrance.
- Fight your way up to the catwalks and use the buzzer on the side door to input the password and gain entry.
- Destroy Jamming Device:
- Navigate the Refinery interior to the main yard where you meet Zane (or another key NPC).
- After defeating the hordes of Rippers, Zane’s ECHO unit will hack the Dahl jamming device.
- The Critical Step: You cannot shoot the device. You must use your Ground Slam ability.
- Grapple up to the platform above the device using the marked grapple point.
- Align yourself over the highlighted circle on top of the device.
- Jump, then double jump and hold the Ground Slam button (typically Circle on PlayStation or B on Xbox, and Ctrl on PC) to crush the device.
Phase 4: Boss Fight and Time-Sensitive Choice
- Kill Driller Hole:
- A new wave of Rippers will spawn, followed by the main boss of the mission, Driller Hole.
- Driller Hole is a large, heavily armored enemy often accompanied by continuous waves of Ripper minions.
- Combat Strategy: Keep your distance and use the central machinery for cover. Driller Hole’s main weakness is his tendency to use area-of-effect and hazard attacks that are easily avoided from a distance. Inflict as many Status Effects as possible to chip away at his health while managing the minions.
- The Final Choice (Save Quent):
- After defeating Driller Hole, an NPC named Quent will be in danger, with a machine threatening to rip out his “Bolt.”
- You have 60 seconds to shut down the machine to save him.
- Objective: You must Grapple five green-glowing handles and shoot three orange-glowing pipes on the machinery and ceiling around the room.
- Execution: Move quickly and methodically. Pick a direction and circle the room, prioritizing the pipes (which require shooting) and using the grapple hook for the handles. Failure to complete this within the time limit will result in Quent’s demise, but does not affect mission rewards—only the narrative outcome.
 Upon saving Quent (or not), the mission will be officially completed, rewarding you with experience, cash, and a new piece of gear, and opening up the final paths in the Carcadia Burn region for further loot optimization and Vault Hunting.